


See You in September: Everything you need to get ready now for next month's HUGE planting guide
Edition 7: Mid August 2024

In this newsletter:
September Planting Prep
Holiday Gift Baskets continued
New Section: “What the Bleep is This, Bree?”
Easy Almond Meringue Recipe
C U Next Tuesday: The Anti-G.O.A.T.

(aka The Zen Hen). If you’re a Florida gardener, you may have recently had to contend with Hurricane Debby and the deluge of rain that caused a fair deal of flooding. While I can’t use my time turner to bring your banana tree back, we can use that experience with Debby to better prep for future storms.
If your yard gets flooded with brackish or salt water, flush your plants with fresh water to remove the salt from the soil. Short periods of salt water exposure shouldn’t harm most plants. If you expect your yard to experience frequent flooding, consider planting in raised garden beds and/or moveable pots. This can also be helpful for short periods of frost if you live in Central Florida.
Losses are all part of nature and the learning process. Sometimes nature grows and sometimes she destroys and that’s okay and long ans we don’t alike ourselves to become discouraged. Our role is to work with her, learn from her, and know we can always grow again.
Prepare for the September Planting List


‘Twas the month before planting season and all through the yard, not a farmer was resting. This prep work is hard. But into your email arrived this newsletter, with hopes of making your prep a little bit better.
Enough storytelling. We’ve got work to do…
Plan This:
If you haven’t yet, it’s time to start thinking about what you want to grow in the coming months. Take into account crop rotation (not growing the same thing in the same place two years in a row.
Don’t plant plants susceptible to the same pests or plants with the same nutrient requirements back-to-back in the same planting area.
Don’t forget to plan for any companion planting to support whatever you’re growing (refer to Edition 3 of this newsletter in the fruit tree guild section for more on companion planting).
Prep This:
It’s time to clean up the yard! Remove spent plants by clipping them at the soil line, while leaving roots and micro rhizomes in place. This allows old roots to decompose and feed the microbes in your soil.
Clean up weeds and debris. Visit Edition 5 of this newsletter for my weed-killer recipe.
Top your garden beds with soil and/or compost. Remember that soil quality is KEY to a well rooted harvest, so try to avoid the cheap bagged stuff that will waste your time and money.
Remove ant beds and mounds with cinnamon bark oil spray. Avoid getting the oil on your plants or it will burn the leaves. Also, make sure you have cinnamon bark oil and not just cinnamon oil.
Put up any trellises you’ll need for climbing plants.
Fix This:
Test your irrigation system and timers. It’s no fun to discover an issue once your plants are in the ground and thirsty (or flooded).
Clean and sharpen your garden tools. Taking care of your tools will mean your body won’t have to work as hard and you’ll save money instead of tossing the items and replacing them. For rusty garden tools I find a 30 minute dip in a strong vinegar solution, quick rinse in water and thorough drying followed by oiling help tremendously.
Test and adjust the pH of your soil. Add elemental sulfur to decrease pH or lime to increase the pH. Here’s an Amazon affiliate link to the products I use for soil testing and amending.
Buy This:
Time to gather your supplies for seed-starting supplies like seed starting soil, trays and your soil blocker (or pots) as well as the seeds you’ll be growing.
If you don’t have one already, seek out a source for mulch. Here in Florida, we have sites like GetChipDrop.com for free mulch and logs. Your local agricultural extension may be another great resource to direct you to more affordable mulch, compost, and soil sources.
Make This:
If you’re starting plants from seed, get your soil mixed and start planting in your soil blocks.
Make yourself a mocktail. You’ve earned it!
HOLIDAY GIFT BASKETS
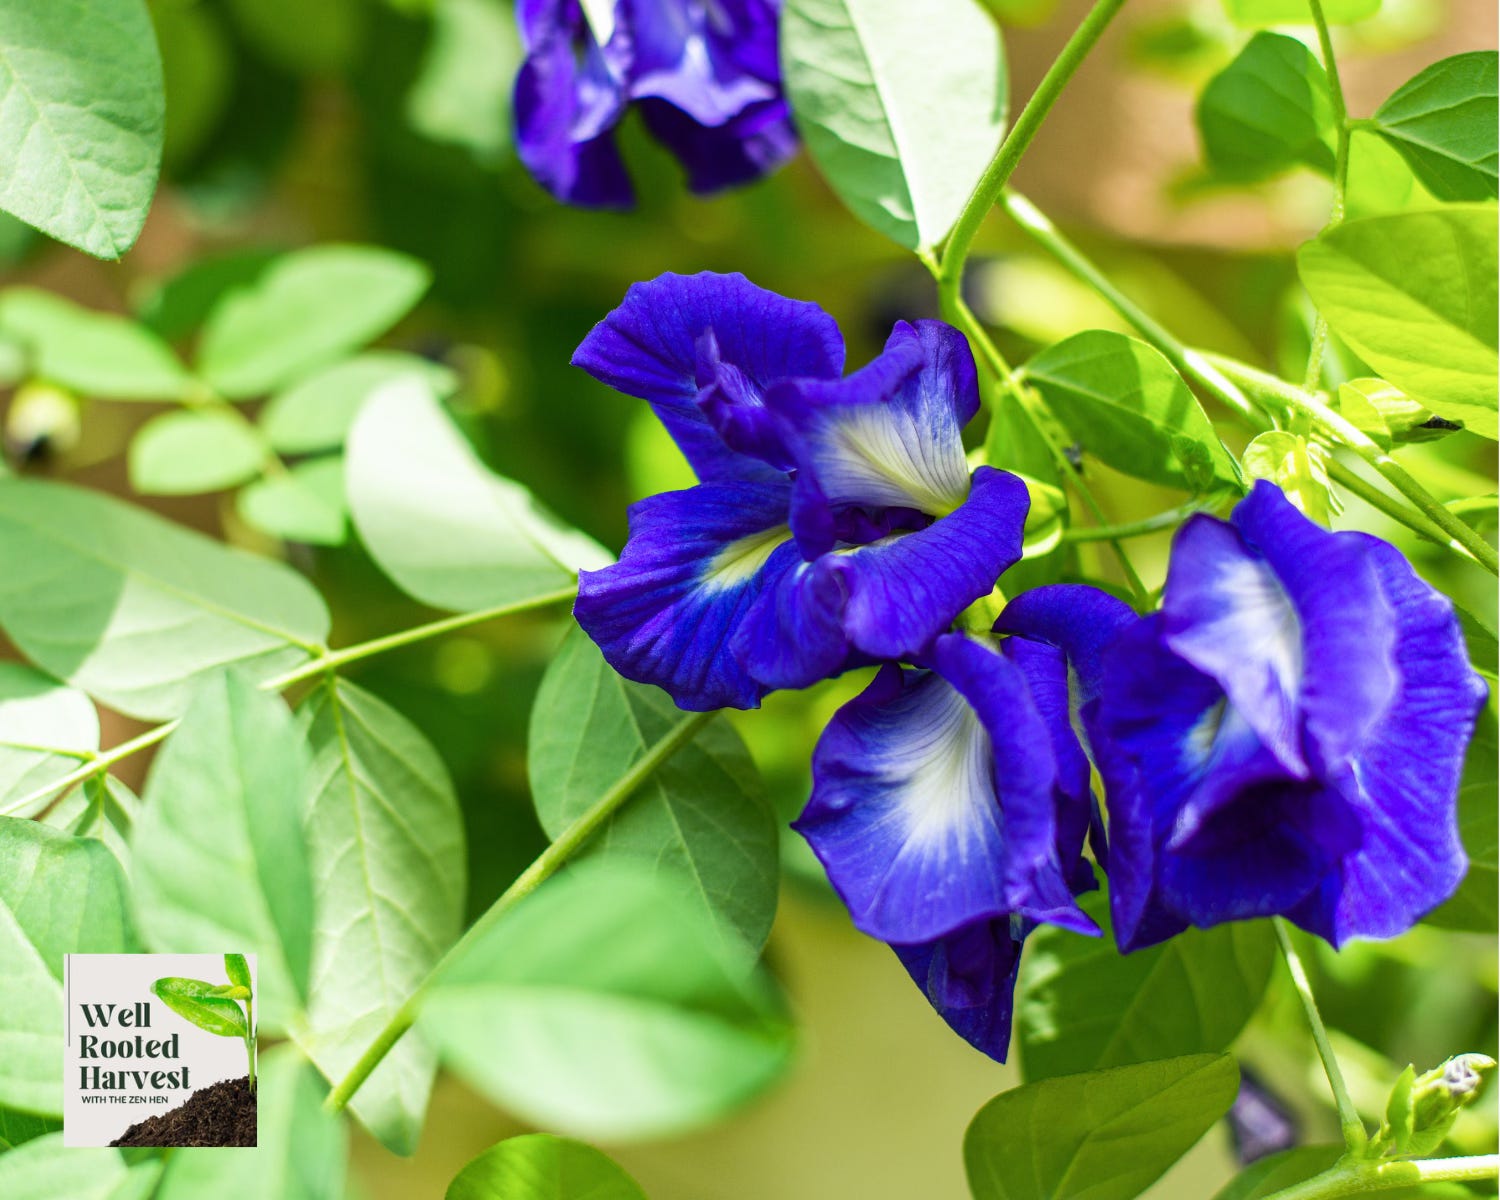
As I’m cleaning up my garden space, this is the time I like to start picking and dehydrating items for tea. Perhaps you have some herbs, like lemon balm, that you’re looking to pull or rotate in your garden. Or you have butterfly pea vine that is full of blue pea flowers to pick.
Some other tea options growing in your yard are: hibiscus, moringa, echinacea, lemongrass, yaupon holly, mints, or chamomile.
Pick the flowers or herbs that you’re looking to turn into tea. Inspect to make sure they’re free of insects. Then dehydrate on a low setting (I like 95F) for about 24 hours. If you don’t have a dehydrator, I have also seen people use their air fryers or ovens on the lowest setting. In both cases, I recommend using a rack that will allow air to circulate around the leaves or flowers.
Butterfly pea flowers are delicate enough that you can just place them on a tea towel or rack and let them dehydrate in an air-conditioned room. The flowers dry within a few days and you won’t run the risk of burning the flowers.
I bag up my teas in single-use paper tea sachets and place a few in a box for gifts. Easy as that!
What the Bleep Is THIS, Bree?
On social media, one of the things I’ve tagged in most is pictures of people’s gardens. And generally, the commentary is not, “Hey, check out my amazing garden!” It’s more like, “@ZenHen WTF is this thing? Is it good or bad? Do I hug it or kill it?”
Hence this new section where I’ll post things you may see around your garden and what to do about them.
Have you seen these on your cucurbit, herb, or other leaves? Meet leaf miners.


Leaf miners are the larvae of flies or a few other insects (though in my yard it’s mostly flies). They will damage the leaf that they’re in, but won’t generally harm the plant. However, that doesn’t mean you should ignore these. If you leave the larva, they will eventually grow into flies (or whatever other insect they are) and lay more eggs, producing more leaf miners… do you see where I’m going here? It’s best to nip this problem in the bud (fine. you got me. leaf.)
What some people don’t realize is that the larvae live within the leaf tissue and therefore aren’t affected by insecticidal sprays. What you can do is pinch along the white line in the leaf and feel the “pop” sensation. (Gross at first and then it becomes oddly satisfying. Much like my experience trying boba tea). Back to the leaf miners…
After playing with nature’s bubble wrap, I often prune the infected leaves off and dispose of them in the garbage, NOT the compost bin. Speaking of— make sure that you’re turning your compost regularly and make sure that it’s staying hot enough to keep it from becoming your new fly nursery to breed more leaf miners.
C U Next Tuesday
Will this help your garden? Only occasionally. Will you be thoroughly entertained? Probably. These are my stories of the absurd, incorrect, and downright scammy things happening in the homesteading world.

The Anti-GOAT: A Story of Snark
This is a story about a goat. Not like the gymnast Simone Biles or peanut farmer George Washington Carver type of G.O.A.T… the head-butting, eats-everything, climbs-on-your-roof kind of goat. (If you haven’t sensed yet, goats are not my favorite animal on my farm).
I love my animals (yes, even the asshole goats). But at one time I found myself with an overpopulation of these creepy-eyed, horned, living lawnmowers. And so I listed a few for sale. Goats have many benefits, especially if you love shin bruises, and I figured I could find a great home for my goat surplus to be loved on.
With experience, I’ve become more skilled in my vetting of potential homes for my animals to ensure that the people have the proper knowledge and space to care for their new farm addition. But this story predates that time when I was still learning.
I found a couple who assured me that they’ve been researching and looking for their first goat for quite some time. They sent me pictures of their yard and seemed to ask all the right questions. We set up a pickup time for their little goaty.
As it were, their pickup time happened to also be during one of Florida’s famous torrential downpours. And it was nighttime. I texted them to reschedule and they said they were already on the highway, not too far from my home. Ugh.
I look out my window, waiting to see a truck or trailer or some animal-friendly vehicle pull up and then they arrive… in a brand new Camaro. I call them from the house, “Ummm… is that you in the Camaro outside?” It sure was.
“Where are you going to put the wet goat?" I asked. They told me it should be fine in the back seat. “And you have to take the 70 mph highway home?” Sure did. “So, you’re expecting a wet goat to chill in the backseat of your sports car while you fly along the highway through a storm tonight? Have you ever met a goat?”
Needless to say, I did not allow them to get the goat that night or ever.
I care too much about the welfare of animals and now adhere to stringent vetting processes. I hope other breeders do as well.
From My Kitchen to Yours

Ingredients:
4 egg whites at room temperature not chilled
1 cup honey or sugar
1/4 teaspoon cream of tartar
1 teaspoon vanilla extract
1/2 teaspoon almond extract
1/4 teaspoon sea salt
Instructions:
Important Note: This recipe will not work if you mix any egg yolk in the whites. My tip is to separate each egg in a small bowl and then add the whites to a larger bowl. That way, if you accidentally break the yolk while cracking your eggs, you won’t taint all the whites you’ve already separated.
Preheat the oven to 225F degrees.
Add egg whites and cream of tartar to a mixing bowl and beat with a hand-held or stand mixer until frothy.
Slowly add your honey and mix until incorporated.
Then mix some more! Continue mixing on medium/high until stiff peaks form.
Guess what we’re going to do next? We’re going to mix in the vanilla and almond extracts.
Line 2 baking sheet with parchment paper.
Put the meringue mixture in a pastry bag with a regular tip, and make meringues 1-2" in diameter, with a swirl on top.
Bake for 60 minutes. Then turn off the oven heat and leave meringues in the closed oven for several hours or even overnight.
Store in an air-tight container for up to two weeks.
HOLIDAY GIFT BASKET BONUS: These meringues can be made with a variety of extracts (including any that you may have made for people as holiday gifts). Save this recipe to use right before the holidays to add to the basket and/or print out the recipe on a notecard and gift it with the extracts you made.

What questions do you have? Drop a comment below and let me know. I’ll cover them in the next edition.
I have been so excited for this issue to drop! You so funny!! That poem is now stuck in my head! Happy Fall planning!