


June planting guide, in-garden composting, comprehensive guide to pest management, and more...
Edition 2: Early June 2024

In this newsletter:
In-garden composting (with how-to video)
June planting guide
Fruit tree maintenance
Comprehensive guide to natural pest prevention and control
The deal with diatomaceous earth
Gluten-free cassava carrot cake recipe
Sneak peek at your June 17 newsletter

(aka The Zen Hen). I’m the author of this newsletter and your new garden go-to gal. I’m also a biochemist turned subsistence farmer who loves to share my knowledge of growing and raising nearly all of the food that my family consumes. Learn more about my story and how I went from the 9-to-5 grind to living out my farming dreams!
Composting In Raised Garden Beds
Welcome to our second article on my five favorite composting methods. If you want to learn more about the many benefits of composting and the pile method, refer back to my first newsletter from May.
Like many growers, I love having the option to grow some food in my raised garden beds. They help retain soil nutrients during our rainy Summers, can be easier to keep certain pests out of (more on that later in this newsletter), and are
ergonomically easier due to being higher off of the ground. If lifting compost into these beds isn’t your cup of worm tea, then give in-garden composting a try! Here’s a parts list, directions, and a video link for my visual learners!
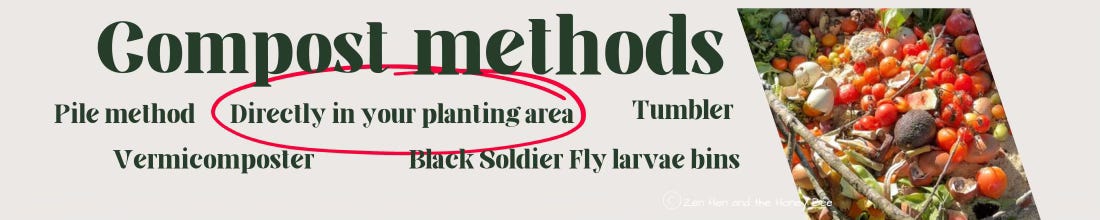
WHY IN-GARDEN COMPOSTING?
In-garden composting is ideal for raised garden beds to add nutrients to the soil continuously. It also houses and feeds earthworms worms in your raised beds to help with decomposition and enrich the soil further.
I love my raised garden beds and own a few brands that came with in-garden compost bins. The problem is, they are often made of plastic which is something I try to avoid coming into contact with my food. The solution is to make your own in-garden composters out of terra cotta pots. Here’s how I do it:
You’ll need: a terra cotta pot that is approximately 10-12” and tray, a 1/2 inch masonry bit (not one made for wood).
Soak your terra cotta pot for 1 hour in water to reduce the chance of breaking.
Let the drill bit do the work and make several 1/2-inch holes around the pot. I made two rings of approximately 8 holes each.
Dig a hole in your raised garden bed and plant the terra cot pot so that just the top rim is above soil level.
Add a small amount of soil to the bottom of the pot and continue adding compost to the bin daily.
Add earthworms to the bin as you come across them while gardening. The worms will enter the bin to break down and eat the compost you add, then travel back out into the soil bringing with them valuable vermicompost to nourish your plants. If regularly fed, they will do well and reproduce in your raised beds!
Keep the pot tray on top of your compost pot to keep heat in and other creatures out.
Shout out to TikTok user cekinla who commented on my video that she would fill the tray top with small pebbles and water to help hydrate local pollinators. I love that idea!
June Seed Starting & Planting for Zone 9 Gardens
As the temps heat up, it’s the perfect time to start certain seeds. Have questions? Comment at the bottom of this newsletter and I’ll do my best to answer them in the next edition.


Amaranth | Beans | Borage | Cassava (frost-free areas of Zone 9)
Cherry tomato | Corn | Cranberry hibiscus
Gingers | Herbs as companion plants or for seed
Katuk | Malabar spinach | Marigolds
Mexican sunflower | Nasturtiums | Okra
Passion fruit | Peanuts | Peppers
Pidgeon Peas | Pumpkins | Roselle l Shampoo Ginger
Southern peas | Squashes | Sugar Cane
Sunflowers | Sweet Potatoes l Taro
*Time to transplant fruit trees into the ground! (See my May newsletter for more on that)
Want to make planting easier? Here are the seed starting tools I use from my Amazon store.
Fruit Tree Maintenance: First Year
If you watch my social media, you know I love receiving plant mail… especially fruit trees. They are fun to open and even more fun when the first harvests start!


Here are my tips for caring for your fruit trees in their first year:
Perform very minimal pruning the first calendar year with the following exceptions:
Prune suckers below the graft line, if applicable
Prune any branches that touch the ground or are damaged
Provide irrigation when rainfall isn’t sufficient. Always water deeply and in general I water based on the following schedule, though some types of trees may need a bit more or less water:
Weeks 1-3: water daily or every other day depending on the temperature
Weeks 3-12: water twice per week
After 12 weeks I water deeply once per week
Feed with compost: I apply 2 inches of compost across the base of each tree the size of the area of the diameter of the tree’s canopy 3 times per year. Then add a layer of mulch on top. **Be sure to avoid putting compost or mulch directly touching the trunk of the tree.**
Compost in mid-to-end of October as temperatures start to drop
Compost around February 1st, after our last chance of frost
Compost in June/July as summer heats up and the rains begin
Keep an eye out for pests or other issues (see potential remedies below)
Keep the compost/mulch areas free from weeds and grasses
Plant a “guild” along with your fruit trees to help prevent the most common issues. More on that in the next edition!
Pest Prevention & Management


One of the biggest mistakes I see new gardeners making is using methods that indiscriminately kill insects in their garden spaces, killing both pollinators and predatory insects that are vital to a good harvest. The goal is to view your gardens as an ecosystem that needs to be thoughtfully supported, and not a space that leaves you scrambling to kill pests when they show up.
When it comes to pests, prevention is ALWAYS the best practice. The first thing to remember is that bugs are NOT the enemy. Let’s hear that one again. Bugs are not our enemy in the garden. MOST bugs are actually beneficial and an essential component of a healthy garden ecosystem.
Prevention
So here’s what we do instead…
Companion plant your garden with trap crops (sacrificial crops). Trap crops are your “canaries in the coal mine” to let you know what’s lurking in your garden before any serious damage or invasion occurs. Trap crops work best when they receive a 2-4 week head start before the plants they are protecting. I like to place trap crops ideally 5 and 15 feet away so they are nearby but not too close.
Encourage predatory insects and animals. Attract wasps, ladybugs, dragonflies, assassin bugs, frogs, and carnivorous lizards by:
planting pollen-producing flowers
adding a water source for them in your garden
Avoid pesticides that are indiscriminate killers of insects. I avoid diatomaceous earth (yes even “food grade”), neem oil, as well as all commercial non-organic pesticides.
Remove pest eggs and larvae by cleaning up dead stems, leaves, and garden debris when plants are finished producing. I compost these items far from my garden and bury them well.
Add beneficial nematodes to planting areas during mild weather to prevent pests like Japanese beetles, termites, and other types of grubs. Milky Spore is also very effective in preventing Japanese beetles.
Use strong-smelling companion plants to surround your crops as a deterrent. My favorites include:
Alliums: chives, onions and garlic
Strong-smelling herbs: oregano, thyme, culantro, cilantro, rosemary, sage, etc
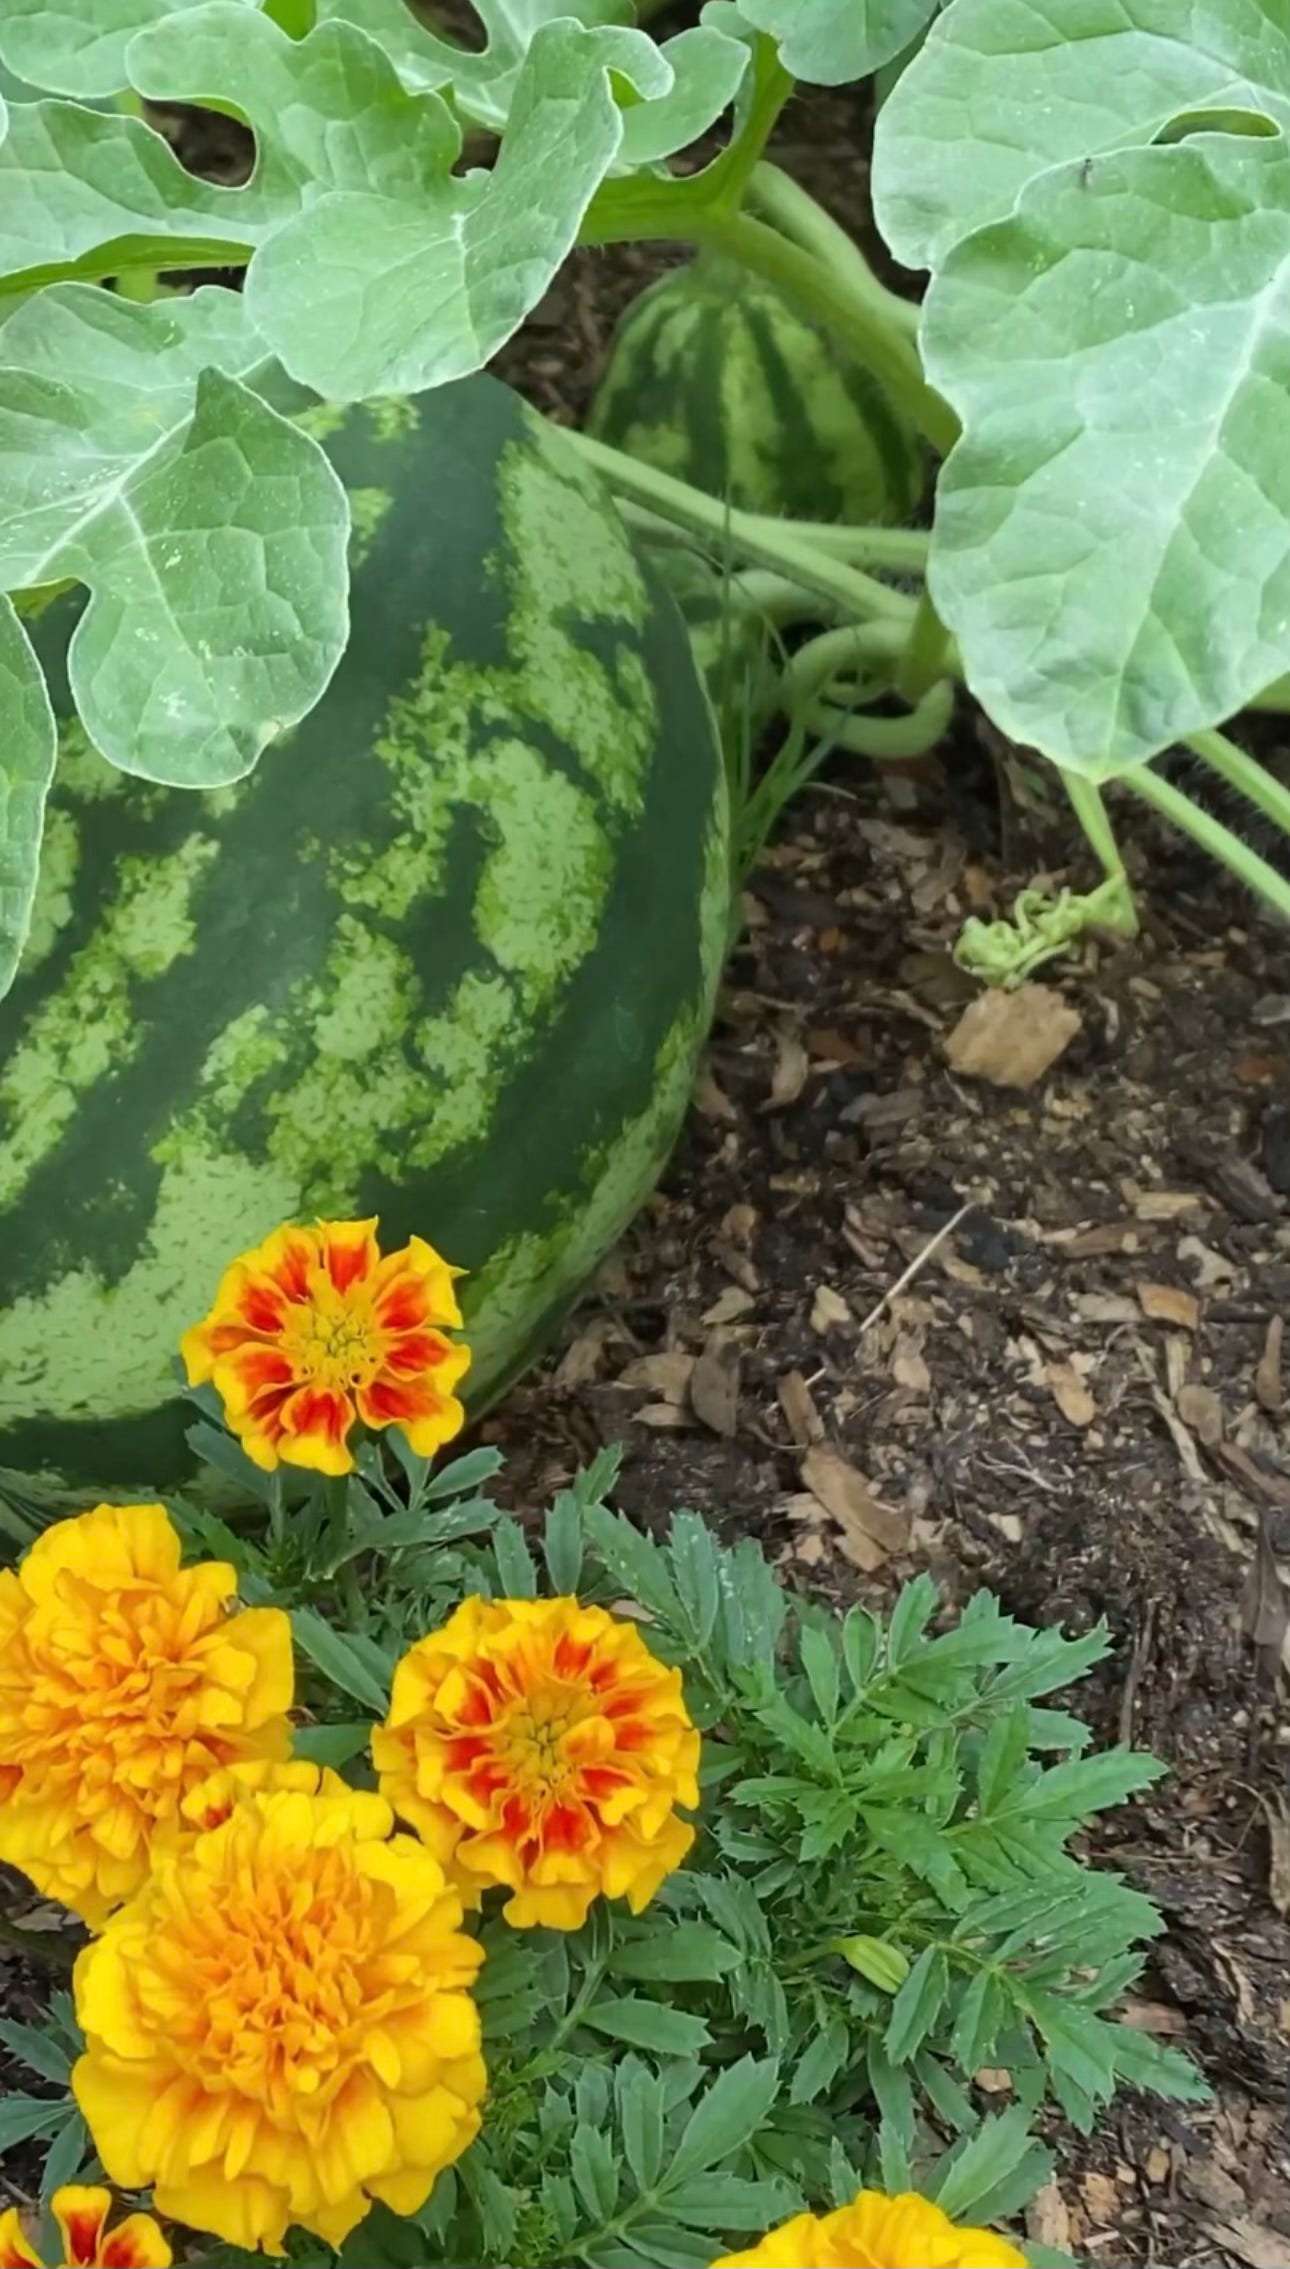
Marigolds (These do double duty by also interrupting the life cycle of root-knot nematodes in the soil)
Try occlusion with garden row covers. They’re an amazing tool for gardeners and prevent damage from grasshoppers as well as most other pests.
The caveat of garden covers is they are best only if used over garden plants that don’t require insect pollination to produce food. Such as leafy greens (lettuces, spinach), nightshades (tomatoes, peppers, eggplant & garden huckleberry), brassicas (kale, broccoli, cauliflower, Brussels sprouts, mustard greens), root crops (carrots, beets, radishes, onions), legumes (peas, beans), tubers & rhizomes (potatoes, sweet potatoes, ginger, turmeric, cassava)
Use crop rotation and alternate the plant families you plant in each location every season. For example, if I plant tomatoes in an area of my garden this season, I won’t plant anything in the nightshade family in that area next. This helps prevent pests and remedies nutrient deficiencies in the soil.

Trap crops that actually work
Mustard Greens for pests on your brassicas (kale, broccoli, cauliflower, Brussels sprouts, mustard greens)
Garden huckleberry for all pest on your nightshades (tomatoes, peppers, eggplants, etc)
Blue Hubbard Squash and Scalloped Squash for pests on your cucurbits (squash, pumpkins, cucumbers, melons)
Amaranth for armyworms
Hibiscus, blue butterfly pea, and milkweed for aphids
Radishes and mustard for flea beetles
Management
Despite your valiant efforts, your garden is just too delicious to keep all of the pests away. Here’s how to handle these unwelcomed garden guests:
Aphids: Aphids are a favorite food of predatory insects like ladybugs, lacewings, assassin bugs, and wasps. Best trap plants: blue butterfly pea, hibiscus, and milkweed. Aphids are sensitive to strong water blasts from your hose, so spray them off daily if necessary.
Caterpillars (including squash vine borers, pickle worms, armyworms, cabbage worms, and horn worms): BT Thuricide kills caterpillars quickly and organically (watch this video for how to apply). If caterpillars are eating your cucurbits (squashes/pumpkins/cucumbers), use Blue Hubbard squash and scallop squash as trap plants. Amaranth is a great trap crop for armyworms.
Japanese beetles: Use Milky Spore as prevention and geraniums are your trap plants.
Squash beetles and Stink Bugs: Plant trap crops. Monitor your plants and pick the bugs off or use a small vacuum to suck them up.
Mealy bugs: A strong spray of water should do it.
Ants: Spray cinnamon bark oil directly onto the mound. Spraying lightly will cause them to move, and heavily will kill them. Avoid spraying the oil on your plants as it may burn the leaves.
Pill bugs: Clear garden debris, don’t overwater your garden beds, and lightly spray cinnamon bark oil onto infested soil areas avoiding leaves.
C U Next Tuesday
Will this help your garden? Only occasionally. Will you be thoroughly entertained? Probably. These are my stories of the absurd, incorrect, and downright scammy things floating around the homesteading internet.
‘Food grade Diatomaceous Earth (DE) is the best way to kill ants in your yard.’
I see this advice everywhere. Buy food-grade diatomaceous earth, sprinkle it on your ant hills, or blow it onto ant trails and say goodbye to your little friends. They’re not completely wrong. DE, if kept very dry, does penetrate the exoskeleton of pests, leading to their dehydration and death. It is non-toxic and generally safe around you and your pets as long as nobody’s breathing it in.
So what’s the deal? Why should you NOT be using DE in your garden or other outdoor spaces? Well, ants aren’t the only insects who meet their demise with DE. Many pollinators and pest-controlling insects, including bees, wasps, and ladybugs, will also die if they come into contact with the powder on the ground or your plants. So all in all DE does more harm than good and much better alternatives are available to us.
The plot thickens if you have chickens or other livestock. I commonly see DE recommended as an internal dewormer. Many reputable studies have proven that it does nothing for internal parasites in chickens or other livestock as once DE is wet it no longer works.
Stick with my pest control tips above and keep your friendly garden friends thriving. And if you do have DE, consider using it indoors only to treat ants as needed.
From My Kitchen to Yours

Cake Ingredients:
1 1/2 cups cassava flour ( or 2 cups all-purpose and leave out the xanthan gum)
1 tsp xanthan gum
1/2 tsp salt (I like Celtic sea salt)
2 tsp Ceylon cinnamon
1 1/2 cups avocado oil
3 cups shredded carrots
1 cup grated pineapple (I save the pineapple cores for this)
1 cup honey or sugar
1 cups packed brown sugar
2 tsp vanilla
4 eggs (best if at room temperature)
1 cup chopped walnuts
Cream Cheese Frosting:
16 ounces cream cheese at room temperature
2 tsp cornstarch
2 cups powdered sugar
Cooking instructions:
Preheat oven to 350°F
Mix dry ingredients in a large bowl (flour, xanthan gum, salt, & cinnamon, walnuts).
Mix wet ingredients in a medium bowl (avocado oil, carrots, pineapple, honey, brown sugar, vanilla, and eggs).
Mix wet ingredients into the dry ingredients.
Grease 3 circular cake pans and divide the batter evenly between them.
Bake for 20-25 minutes or until the center of the cake is set.
Allow the cake to cool completely before making and applying your frosting.
For frosting, whip ingredients together and apply to the cake.
What’s In the Next Edition?
Here’s what’s coming to your inbox on June 17:
How to compost in a tumbler
How to build a proper fruit tree “guild”
Your pest Q&A answered (submit your questions in the comment section below)
Reader’s choice based on the poll at the top of this newsletter
What did you love? What did you learn? What questions do you still have? Comment below and maybe you’ll be featured in a future newsletter.
Okay, this should have been obvious I guess but I never thought of treating pests on the trap plant and that they’re just the first warning sign. My brain has always been like “I have a garden huckleberry. Now nothing can go wrong!”
So much good content here. I’m learning lots… fast!
So, like Jillian, I've been watching my grain amaranth getting eaten by pests and the best thing I've done so far is praise it for doing a good job. It's not occurred to me to treat it with BT until now especially since I have some overflow damage on my Seminole pumpkin (and I read your comment). P.S. Does grain amaranth really produce grain and, if so, what do you do with it? It does look very pretty in the garden 😊